How to Reset Brother TN450 Toner counter
Share
People using Brother printers for the TN450 toner cartridge might encounter toner error messages such as (Toner Low), (Replace Toner) or (Toner Life End). As the screen shows the cartridge you are using is empty or not recognized, you may think you have to change it for a new toner cartridge, or you can not continue printing. But after installing a new toner cartridge, the problem still persists, and you will see that this occurs with the OEM and compatible laser toner cartridges. It doesn’t mean the cartridge you bought is damaged, the reason is the cartridge didn’t reset properly, so the printer couldn’t recognize it as a new one. Don’t worry, just follow the instructions below to reset your Brother printer.
How to Reset Brother Printer TN450 toner counter (DCP/MFC series)
Brother DCP7060 Brother DCP7065
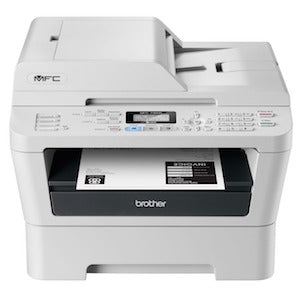
Brother MFC7360N
Brother MFC7460DN
Brother MFC7860DW
If you have a Brother Multifunction (DCP/MFC series) machine and recently replaced it with a TN450 toner cartridge, you can manually reset the toner counter.
1) open the door of the toner compartment.
2) Check the printer screen. If it reads “front cover is open”, you've done it correctly.
3) Find the “clear” button on the front of the printer and press it.
4) The printer screen should now say “replace drum?”
5) Type in “*00” on the printer keypad (don't forget the asterisk)
6) The screen should display “Accepted”.
7)Shut the door of the toner compartment and it should no longer display the "low toner” message.
How to Reset Brother Printer TN450 toner counter (HL series)
Brother HL-2220
Brother HL-2230
Brother HL-2240
Brother HL-2240D
Brother HL-2242D
Brother HL-2250DN
Brother HL-2270DW
Brother HL-2280DW
If you have a Brother Printer (HL series) machine and recently replaced your TN450 toner cartridge, you can manually reset the toner counter.
1) Make sure the printer is off and open the door at the front.
2) Turn the printer back on while you hold down the “GO” button.
3) Wait for the four LED lights to come on.
4) When all four of them are on, stop pressing “GO” and wait for the LEDs to turn off again.
5) Press “GO” twice in a row and wait for the LEDs that indicate drum, toner and paper to light up.
6) Press “GO” five times in a row until the paper light starts blinking.
7) This should have reset the printer's “no toner” error.
8) Close the door.